
Hi everyone! I am back with another reveal, this time it’s our kitchen! We spend most of our time in the kitchen, yet you barely see any pictures of this space because besides the fact that it’s always a mess in here, it’s also extremely dark(see before pic after that pic below) so not photograph friendly. However, look at it now! In my prior post, I mentioned partnering with Velux USA to install skylights in the sunroom, well, they also added a Velux Sun tunnel skylight(pictured above) in the kitchen which prompted this kitchen and it’s been a game changer!

Since there is an attic space above the kitchen, it was a great candidate for installing the Sun tunnel skylight. Sun Tunnels consist of a lens mounted on the roof and a diffuser mounted in the ceiling connected by a highly reflective aluminum tunnel. They’re ideal for very deep roof spaces (lots of attic space between the roof and ceiling) and are able to be installed around most attic obstructions like venting, trusses and rafters, lighting fixtures and HVAC units.

a pic of the kitchen before after clearing out the cabinets

The installation process was seamless and didn’t take long at all! Now the kitchen is beaming with natural light and we love it! Sun Tunnels are the most cost effective way to add natural light from above to your home. Typical installations, including the product are under $1,000. I also worked with the Sun4Light team for this installation. They serve the Raleigh, Durham, Chapel Hill, Pinehurst, Wilmington and Greensboro, NC. areas.
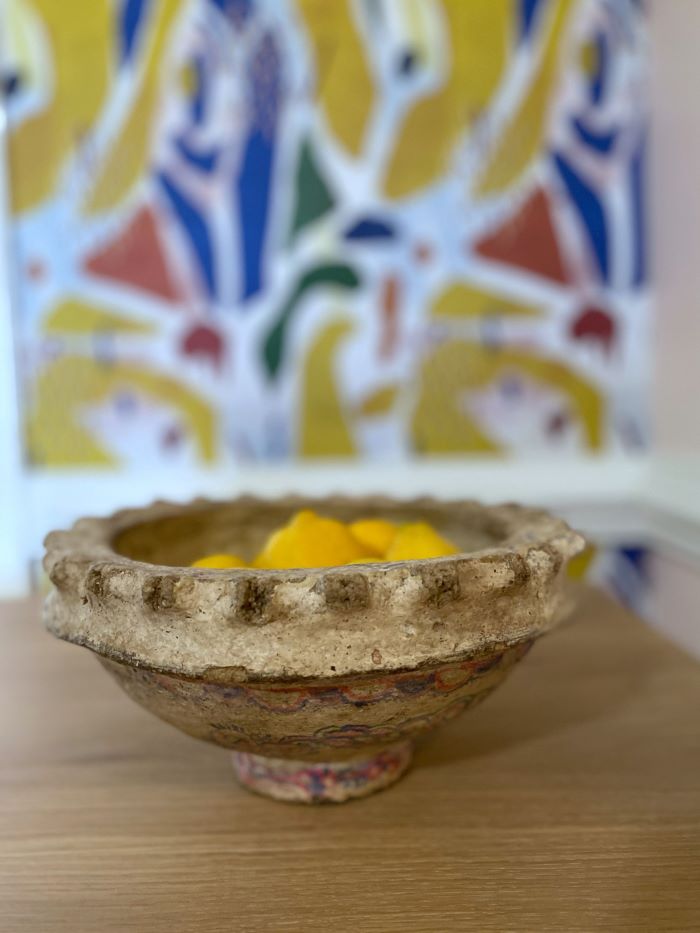
bowl pictured is of papier-mâché from the lovely Dress My Room Interiors
Now, I know you have questions about the other changes that happened in the kitchen. I explain those below and my plan was to only paint the cabinets but one thing led to another and before you know it, the kitchen was undergoing a big makeover. Overall, my goal was to make the space feel more bright and although I painted the wood cabinets, including those organic details were important. I focused on oak pieces like the new bar stools and dining table that didn’t feel heavy. Did I mention the prduct delays and damages that this makeover was riddled with? Though it’s not quite finished yet, I am happy to even be at this stage as at one point it looked hopeless! I am still to install the vent hood, but that will happen eventually. See below for all the renovation details and before and after pics.


I deliberated over what color to paint the cabinets for a long time and eventually decided on this more muted color. The kitchen is open to adjoining spaces that are brimming in color, plus the dining nook has a lot of color from that wallpaper.


And now for some Before and Afters:

After
As mentioned above, we removed the microwave and placed a slab of quartz behind the stove. We also replaced the stove with this one from LG. Vent hood to be placed above the stove later. See before pic of this view below.

before

after
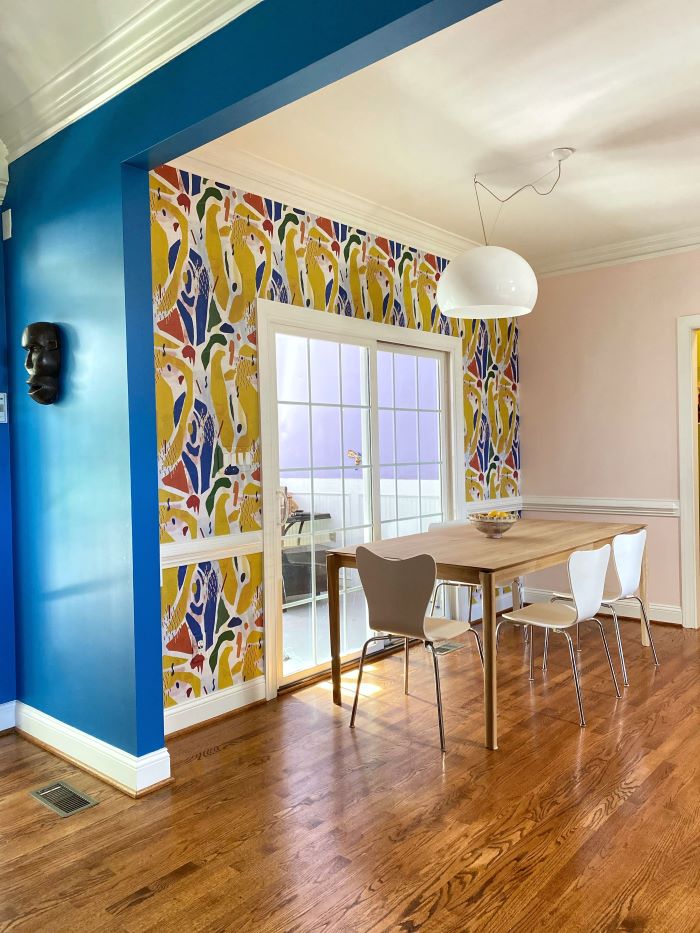
As you can see I repainted the living room and the wallpaper in the eat in area was changed. I went with this eco friendly one from Mind The Gap that goes with the current color scheme. I also love the dose of yellow. As mentioned earlier, the kitchen was repainted a lighter pink color. New dining table is the beautiful Bok dining table which adds a touch of Scandinavian vibe.
before (pic by Lea Hartman)

Since the existing hardware is brushed nickel I chose this stainless steel Brizo faucet which I really love! Also pictured is a sample of the Carrara Lumos Quartz we chose for the countertops.

Love the new sink too which has a low divide! Quartz countertop installation by local, Olive Glass and Marble. We also worked with them when we built our home-they did a wonderful job!

These new Muuto Nerd bar stools are so lovely and go with the new aesthetic beautifully plus they have a similar oak finish as the dining table.

after
Looking into the kitchen from the living room now

before (pic by Lea Hartman)

Another view of this area. Love the color transitions. I would love to know what you think in the comments. Thanks for reading and BIG THANK YOU again to the Velux team!
VELUX offers virtual design consultations, so you can explore skylights and ask questions from the comfort of your home. The consultant can help you understand what rooms are good candidates for skylights, answer questions about the products and recommend an installer in your area.
This post was sponsored by Velux USA, but all opinions are my own.